Find Our Latest Video Reviews on YouTube!
If you want to stay on top of all of our video reviews of the latest tech, be sure to check out and subscribe to the Gear Live YouTube channel, hosted by Andru Edwards! It’s free!
Tuesday October 2, 2012 3:38 pm
Ask Andru: How do I convert cassette tapes to digital format?
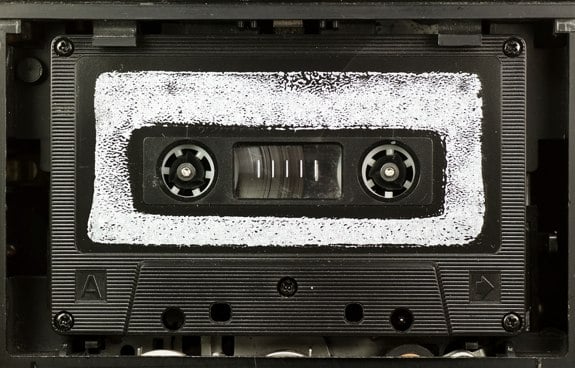
With the move to cloud and digital content that's taken the world by storm, older technologies have fallen by the wayside. The problem, though, is that there are still plenty of great pieces of content that are relegated to VHS, film reels, cassette tapes, and records. Today in my Ask Andru column, we have a question from Janine, a kindergarten teacher who wants to know how to convert her books on cassette over to a digital format. Let's jump into it.
Q: I listen to your show and really enjoy all your tips. I teach Kindergarten and have many books on cassettes that my students love listening to. Some of the cassettes are getting a bit worn. So I thought I could convert them over to CDs instead of buying new books with CDs. Do you have any suggestions on what would be the best way to do this that is affordable?
A: I always like to recommend that you do things like this yourself when it is simple and easy, rather than relying on an expensive third-party service. Luckily, this falls under that umbrella. To convert your cassette tapes over to audio files (which you can then burn onto CDs,) all you need is a cassette player with a line out/headphone port, a computer with a line in port, and a male-to-male auxiliary cable to connect the two.
If you are using a Mac, just fire up the fantastic GarageBand app, included in OS X. If you are using Windows, you can use the included Windows Sound Recorder, but it isn't very full-featured, so you may want to browse around for alternatives. Still, it will work for what we need it to do.
Since this is an analog-to-digital conversion, you will need to connect the cord between the line out on the cassette player and the line in on your computer, launch the program that you'll be using to import the tracks, start recording (make sure you have the line in or "built-in input" setting selected,) and then hit play on the cassette player. You will have to let it play at normal speed, and if you want to separate the tracks into different recordings, then you will need to stop the recording and the tape at whatever intervals that you'd like there to be a break. Once you are done, you can trim your files, and then export them as, say, an MP3, which you can then burn to a disc or sync to your mobile device.
As you'd mentioned, there are other ways of doing this, including just sending your tapes away and having someone else take care of it for you. Generally, though, this can get pretty expensive for a basic service that you can do on your own!


