Find Our Latest Video Reviews on YouTube!
If you want to stay on top of all of our video reviews of the latest tech, be sure to check out and subscribe to the Gear Live YouTube channel, hosted by Andru Edwards! It’s free!
Thursday December 1, 2005 4:50 pm
The Cure For iPod Scratches: The Invisible Shield
It’s no secret that the iPod is easily scratched and now with the introduction of the “nano black” iPods, scratches seem to find their way on these high priced devices even easier and more noticeable than ever before. So what do you do about it other than yell, fall to the floor and start crying? Shell out $24.95 for a protective covering that promises to keep your new toy shiny and scratch free. We were able to get one at the same time that we purchased a 60 GB black iPod and share our experience after the jump.
The Invisible Shield basically comes in two parts, the front with cut out click wheel to protect the face, and the back shield to protect the metal part of the iPod. Essentially it’s a sticker similar to those put on the face of palm pilots, except this is supposed to be a lot tougher to better protect the precious face of the iPod. Let’s look at the install process first.
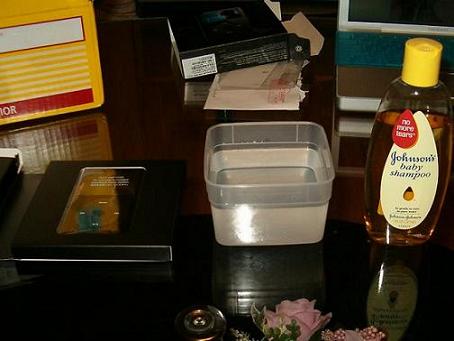
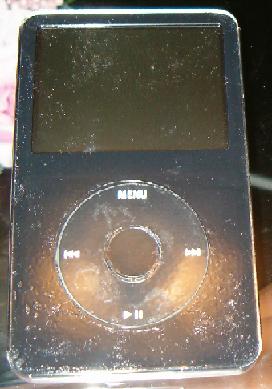
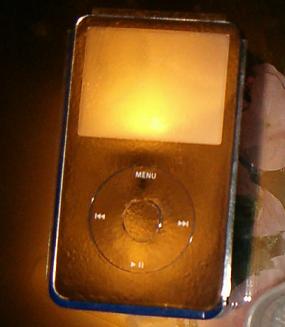
The materials needed for the install are a bowl of water (about 10-12 oz), liquid soap (we used baby shampoo), a credit card, and the iPod itself. We were a bit worried about using water on a brand new, just out of the box, iPod with video (5th gen iPod, Video iPod, call it what you will.) First we mixed the water and shampoo to make a soapy mix. Once that was done, we removed the shield from its backing with some struggle and dipped the whole front decal in the bowl of soapy water and let it drip enough so as to now have too much water on it for application. After you place the shield on the iPod and position it to where it’s supposed to be, you have to squeegee out any air bubbles and water using the credit card. On our first try, it was a total disaster - we let too much water remain on the shield before application. Check out the image below to see how bad it was for yourself, and remember, this is what not to do.
We then took it off and went in for a second try. That was uneventful as well, because this time we used too little water on te darn thing. Finally we were able to get it on just right and squeegee out as many air bubbles as humanly possible. We still had some tiny air bubbles but decided it was good enough. A few tiny air bubbles are a lot better than scratches on this beauty. The back was a lot easier to install, probably because we had experience with doing the front portion multiple times. Check out how it looks like after it is installed, the iPod now sports a unified look with its shiny click wheel instead of the standard dull black.
Post 24 Hours: First Usage
So 24 long iPod-less hours have finally passed and it’s time to see how our new iPod with an Invisible Shield feels and performs. At first glance, it looks much better than the day before - the air bubbles have diminished, and the iPod feels much better in the grasp of my hand with the shield applied. Much to our relief the screen looks great and the tiny air bubbles are not an eye sore when watching videos, but are noticeable when in the menu screen.
Conclusions
 Even though the install process was a pain in the rear at times, it wasn’t that bad once we got the hang of it. The iPod feels a lot better with it and my mind can rest easy knowing that it won’t suffer the same scratched up grill as some of its siblings. This product gets a 8 out of 10 because the install process could be a little easier and the shield itself wasn’t easy to remove from its backing.
Product: The Invisible Shield
Price: $24.95 USD


